
User guide CEDOC
The user guide is designed to give you a comprehensive understanding of the key features and uses of CEDOC. Ordering, installing, and using CEDOC is simple. We are here to assist you every step of the way if you need our help. In this guide, we will help you get started quickly and easily with the program.
User guide – Installation
Installation
Start by downloading CEDOC to your computer. The program is available in three versions:
- Full access with a license key
- Free trial period
- Cedoc Viewer
Start the program and activate the version of CEDOC you have chosen.
For full access, enter the license key that was sent to the email address provided during registration.
If you are an existing user and cannot find your license key, please contact the person responsible at your company or reach out to Cedoc Support.
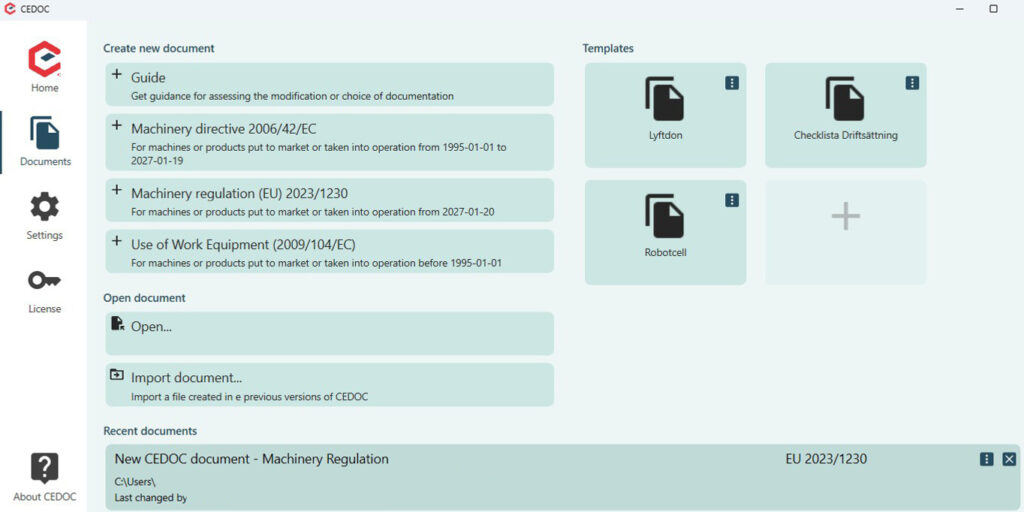
Start
Start
Create a new document in CEDOC by clicking on one of the following options:
- “Machinery Directive 2006/42/EC”
- “Machinery Regulation (EU) 2023/1230”
- “Use of Work Equipment (2009/104/EC)”
Guide is a feature that can provide guidance for assessing modifications or choice of documentation.
Open Document displays documents that have been previously saved.
Import Document is used to import an older CEDOC file to make it compatible with the latest version of CEDOC.
Recent Documents shows the most recently opened CEDOC files.
Templates can be created to streamline work when frequently reusing similar CEDOC documents.
Settings
Lists
Create custom lists for risk assessment by adding risk sources, causes, and incidents. There is also the option to add other verifying directives beyond the Machinery Directive, Machinery Regulation, and Use of Work Equipment. However, no specific questions are added based on this addition, and it must be handled separately. Verifying harmonized standards as well as verified non-harmonized standards and specifications can also be added.
Additionally, there is the option to add custom links that can be used in the risk assessment to refer to websites and PDF documents.
Editing
Language – the program is currently available in 5 languages: Swedish, English, Finnish, Norwegian, and Polish.
Auto/manual save means the program saves automatically with every change, and Undo – Redo is a feature used to revert changes. In manual mode, you need to save manually using ctrl + s or the save button in the left corner.
Color scheme can be chosen as standard or Bright with high contrast.
Zoom is performed by pressing – and +
Action information on the risk tab shows extended action information under the risk assessment tab.
License Management
View license type and user information.
Overview
Overview
File
- Save As, save a new file.
- Print, all tabs or each tab separately.
- Export action plan to Excel.
Edit
Undo/Redo, to revert changes during autosave.
View
Increase/decrease text size.
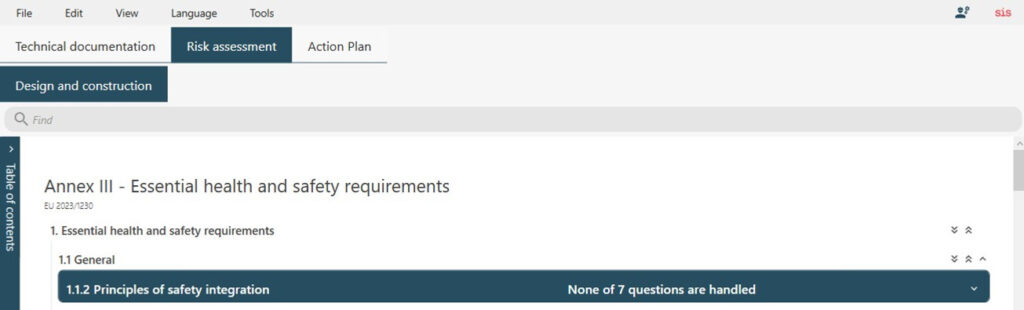
Language
Option to change the language of coded fields, note that there is no built-in translation function for free text fields in the program.
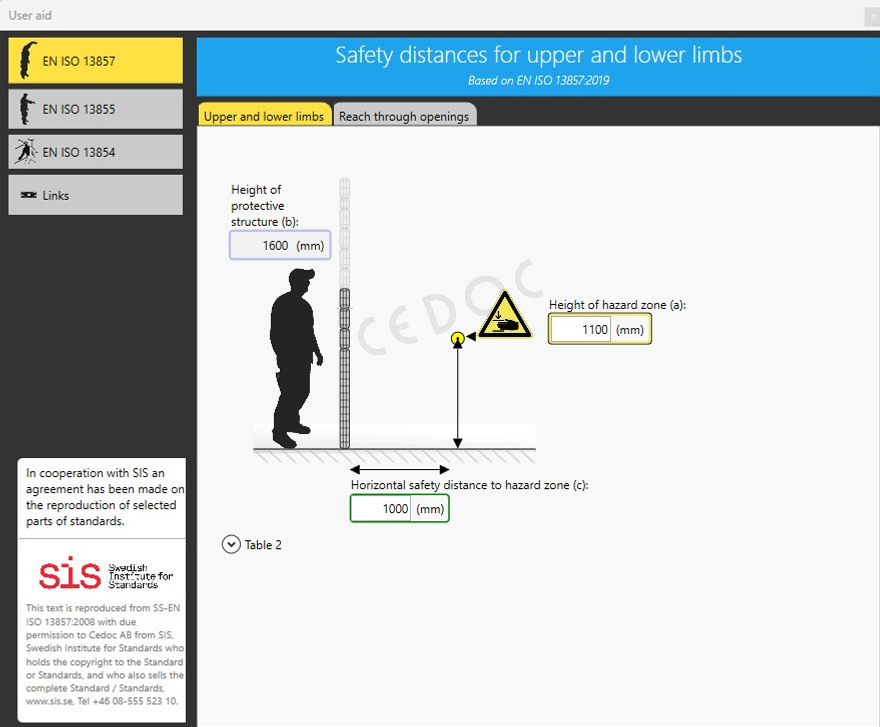
Tools
User guide and SIS. Can also be accessed via the “person icon” and SIS-icon in the top right corner.
Technical Documentation
Technical Documentation
Overview
Fill in the machine overview.
Add an image by clicking the plus button or pasting.
Risk Assessment Options
Select the type of risk assessment to be performed and if there are any specific requirements for the current machine category.
Generate Reports/Certificates
Select which reports and certificates to genrate.
Manufacturer & Declaration Responsible
Enter details about the person responslible for the declaration and the person authorized to compile the technical documentation.
Logo
Add a logo by drag and drop or pasting.
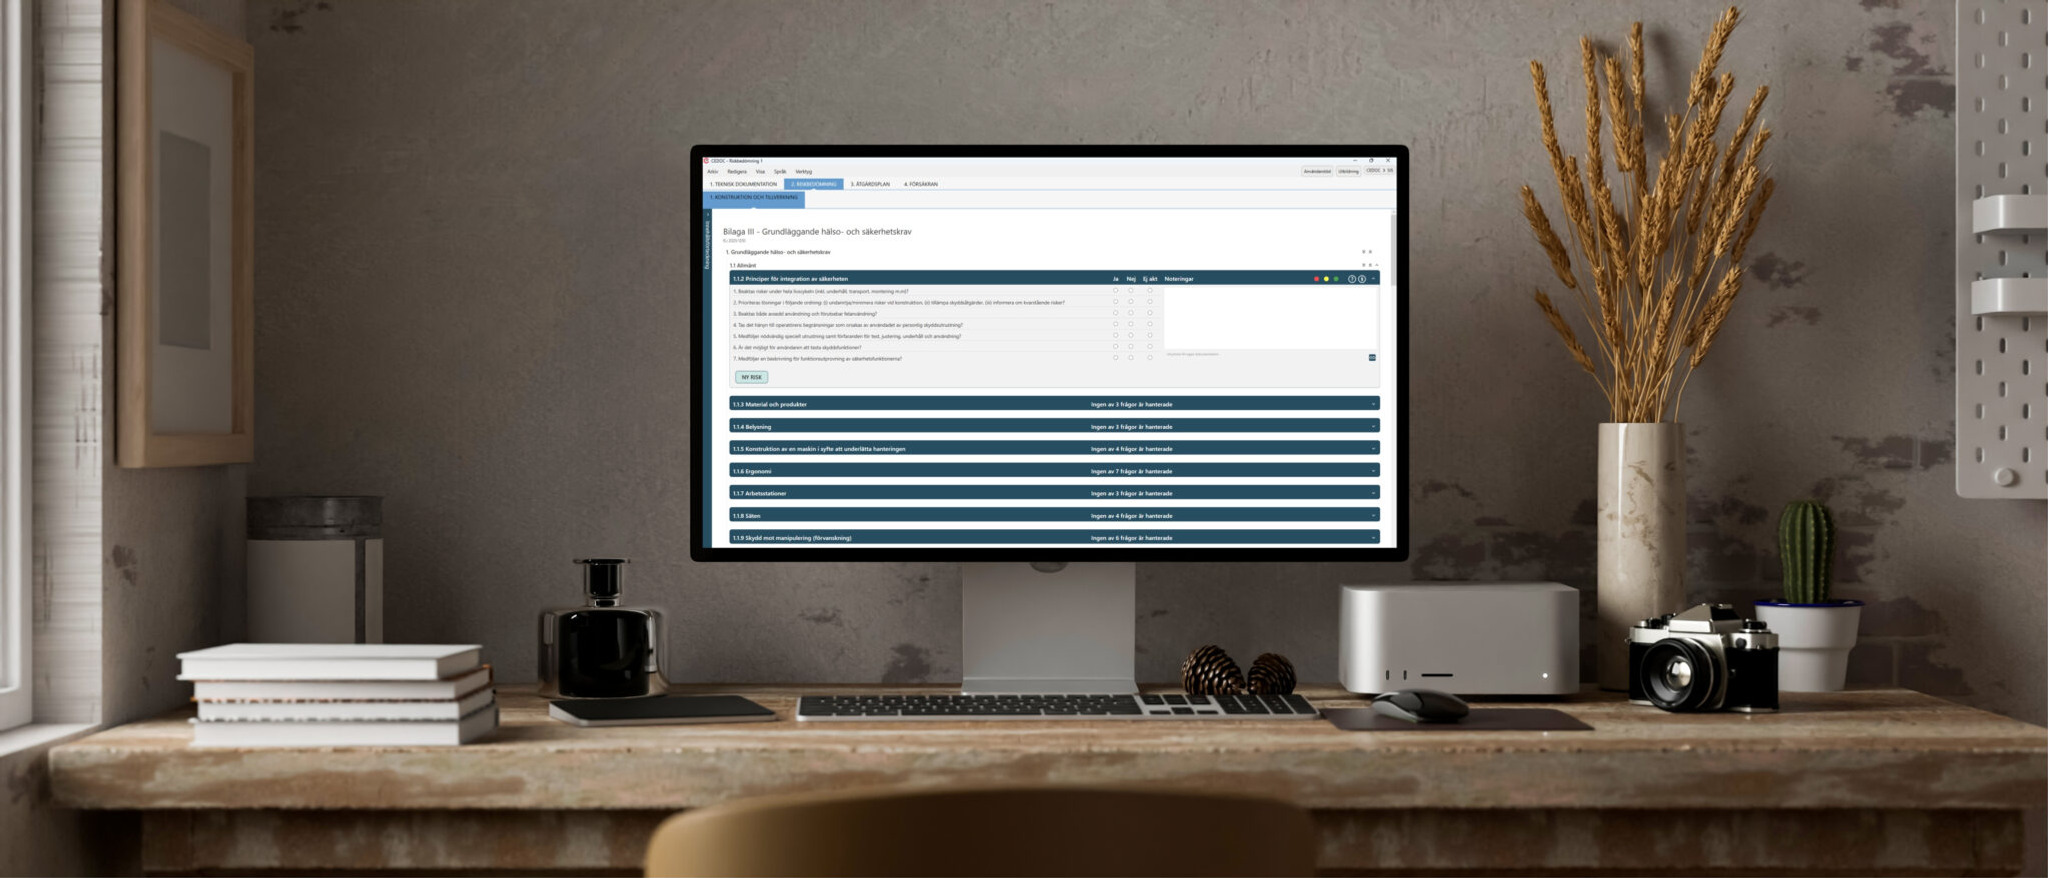
Risk Assessment
Risk Assessment
Table of Content & Search
Table of content is located on the left side.
Search function is available above the table of contents or by pressing ctrl + F
Question in the Risk Assessment
Press the single arrow next to the heading that needs to be answered.
Use the double arrow to expand or collapse the questions under a heading.
If a heading is not applicable to the risk assessment documentation, press the button next to hidden items to hide the section. Read more about “Hiding Entire Sections” here.
The paragraph symbol shown in the expanded heading displays excerpts from legal text.
The risk assessment also includes the ‘Colour Coding’ feature – an effective feature that makes it easy to follow up, flag or assign specific sections or tasks in the risk assessment or action plan. Read more about the ‘Colour Coding’ feature here.
Identified Risk
Click on “NEW RISK” or the arrow to paste an existing created risk. Read more about the benefits of the feature “Copy and Paste Risks” here.
Specify Area, Risk Source, Cause, and Damage. There are drop-down lists with suggestions.
Add an image by drag and drop, the plus sign, or paste.
Risk Score
Generate a “RISK SCORE BEFORE” for the currently identified risk. Then perform a risk assessment by evaluating severity and probability.
There is also support for SIL and PLr calculation.
Comment/Action Proposal
Click “ADD” and select an option from the drop-down list.
Then click “RISK SCORE AFTER” and reassess the risk after the action proposal has been provided.
In this view, the action proposals are directly visible in the risk assessment tab if the setting has been made in the action information on the risk assessment tab. Otherwise, the choices are visible and reflected under the “Action Plan” tab.
Action Plan
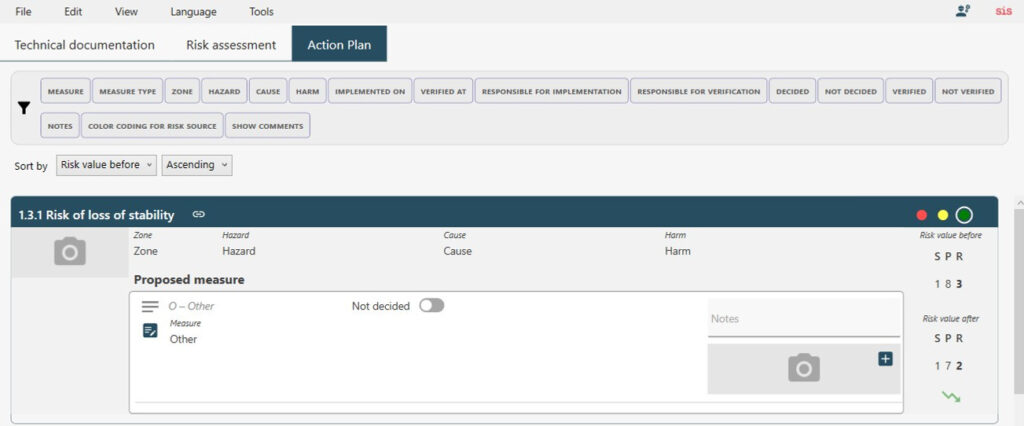
Action Plan
Click the button next to “Not Decided” so it changes to “Decided“.
Specify the person responsible for implementation and the date by which the action should be implemented. Then specify the person responsible for verification and when the verification has been completed.
Add any notes to the action.
Add images by pasting or clicking the plus sign.
For a clearer overview, actions and action proposals can be filtered in the overview.
You can return to the risk assessment by clicking the link symbol next to the heading.
“Sort by” allows for sorting order by, for example, risk score or responsible person to organize the document in a specific work order.
Headings can be colour-coded by clicking one of the color symbols. Read more about the advantages of the Colour Coding feature here.
Declaration
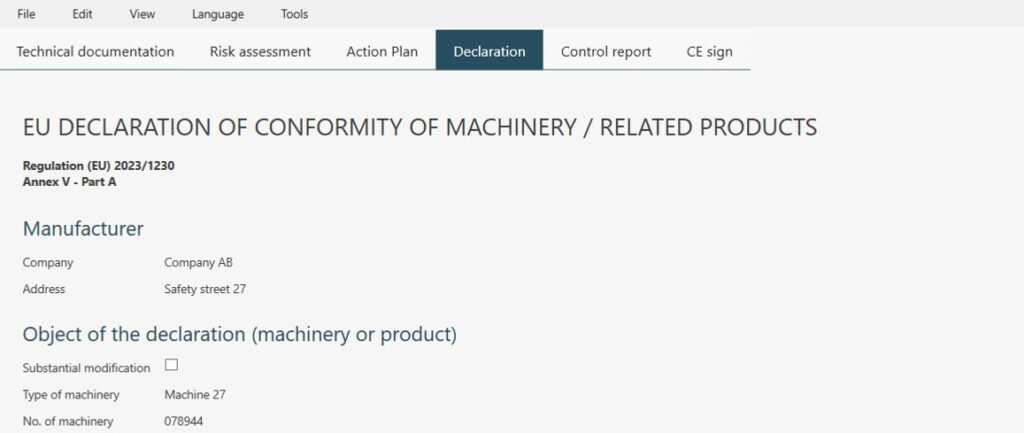
Declaration
The text generated under the Declaration tab is a reflection of the information filled in under the Technical Documentation tab.
The person authorized to compile technical documentation should sign the declaration.
The declaration document can be printed, and the coded fields can be saved in multiple languages.
Control Report
Control Report
The control report can be used as a checklist.
Information about machine type and machine number is reflected from the Technical Documentation tab.
At the bottom there is a certification that the specified points have been checked.
CE Sign
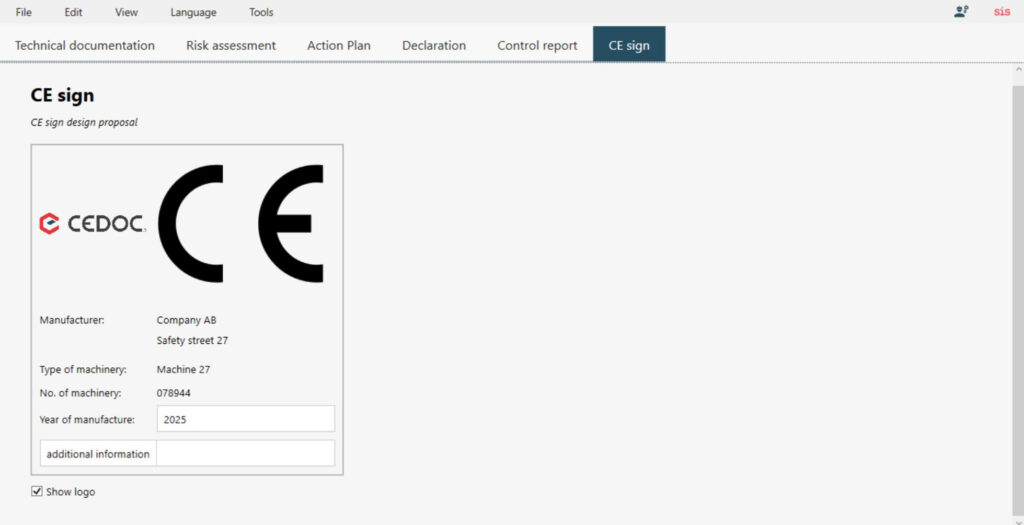
CE Sign
The information generated on the CE sign is retrieved from the Technical Documentation tab.
Enter the machine’s year of manufacture and use the text fields for additional information.
Test Report for Lifting Equipment
Test Report for Lifting Equipment
To generate a test report for lifting equipment, select it from the Technical Documentation tab by marking “Risks due to lifting”, as well as under “Generate reports/certificates”.
Information about the machine type and machine number is retrieved from the Technical Documentation tab.
